DodecaheDrum
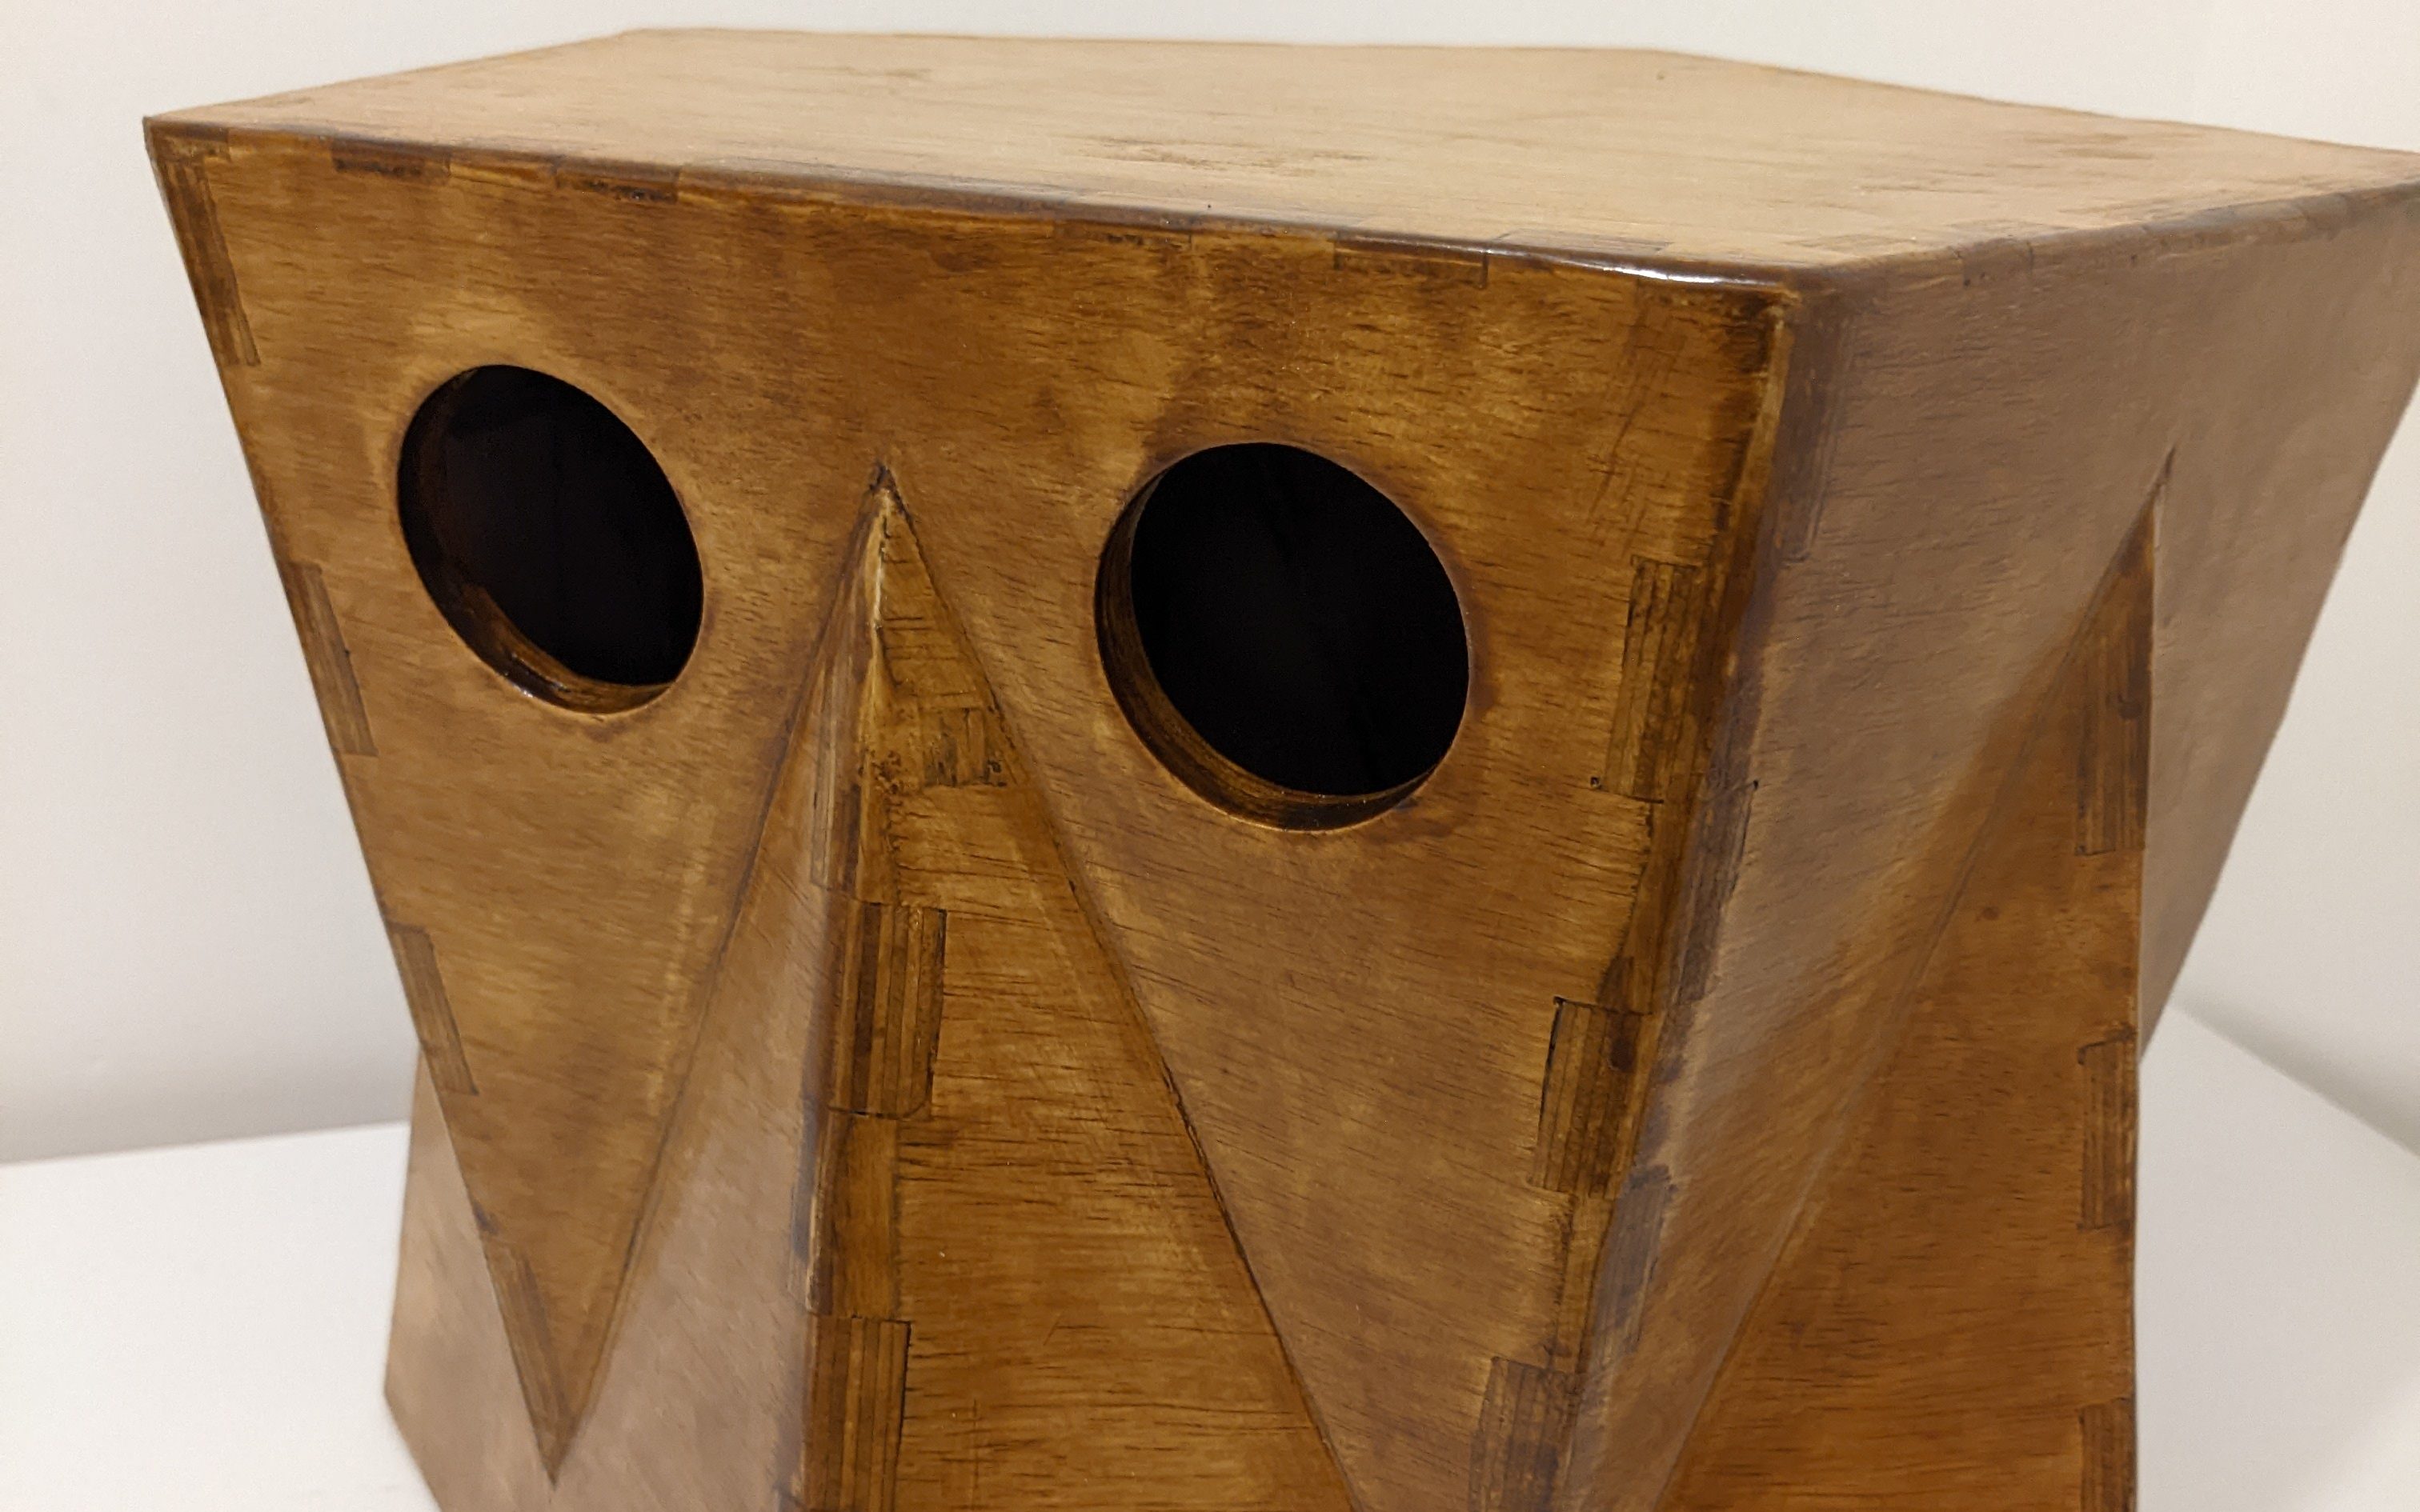
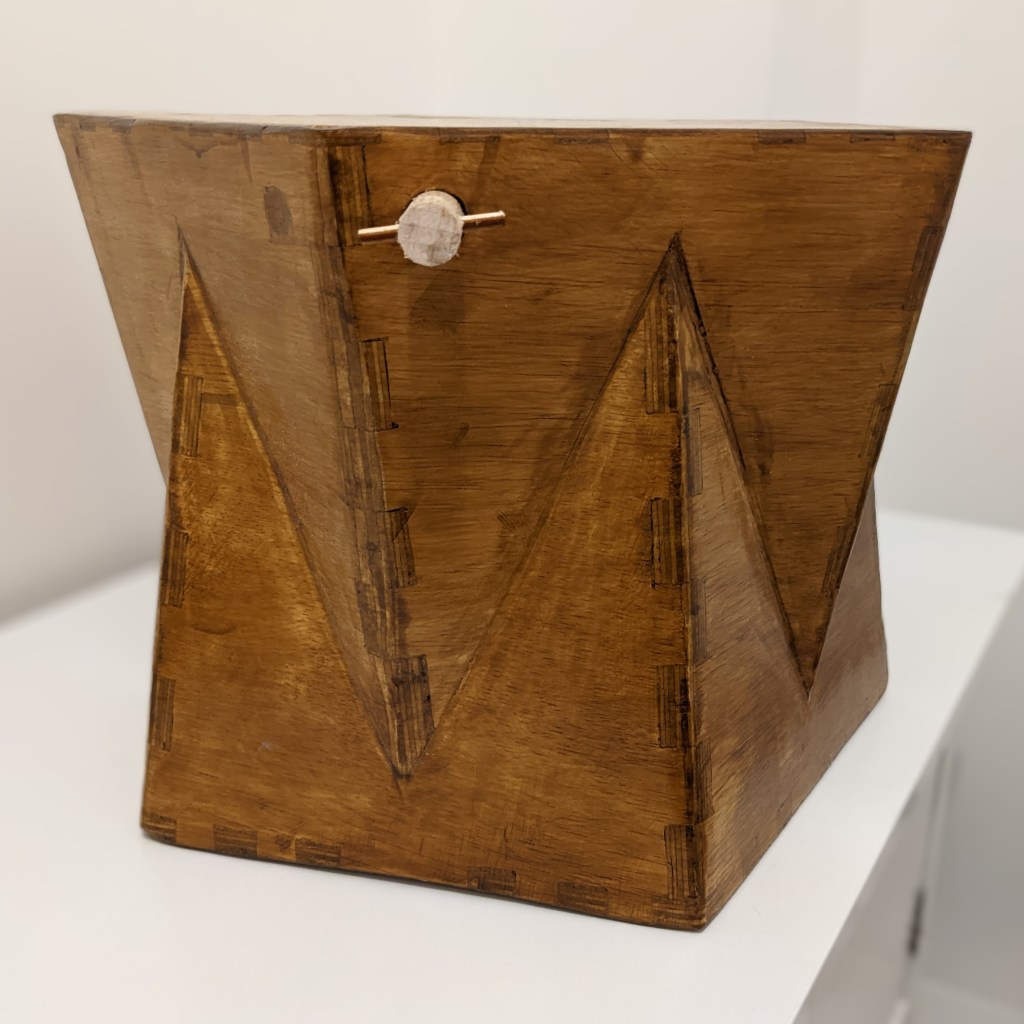
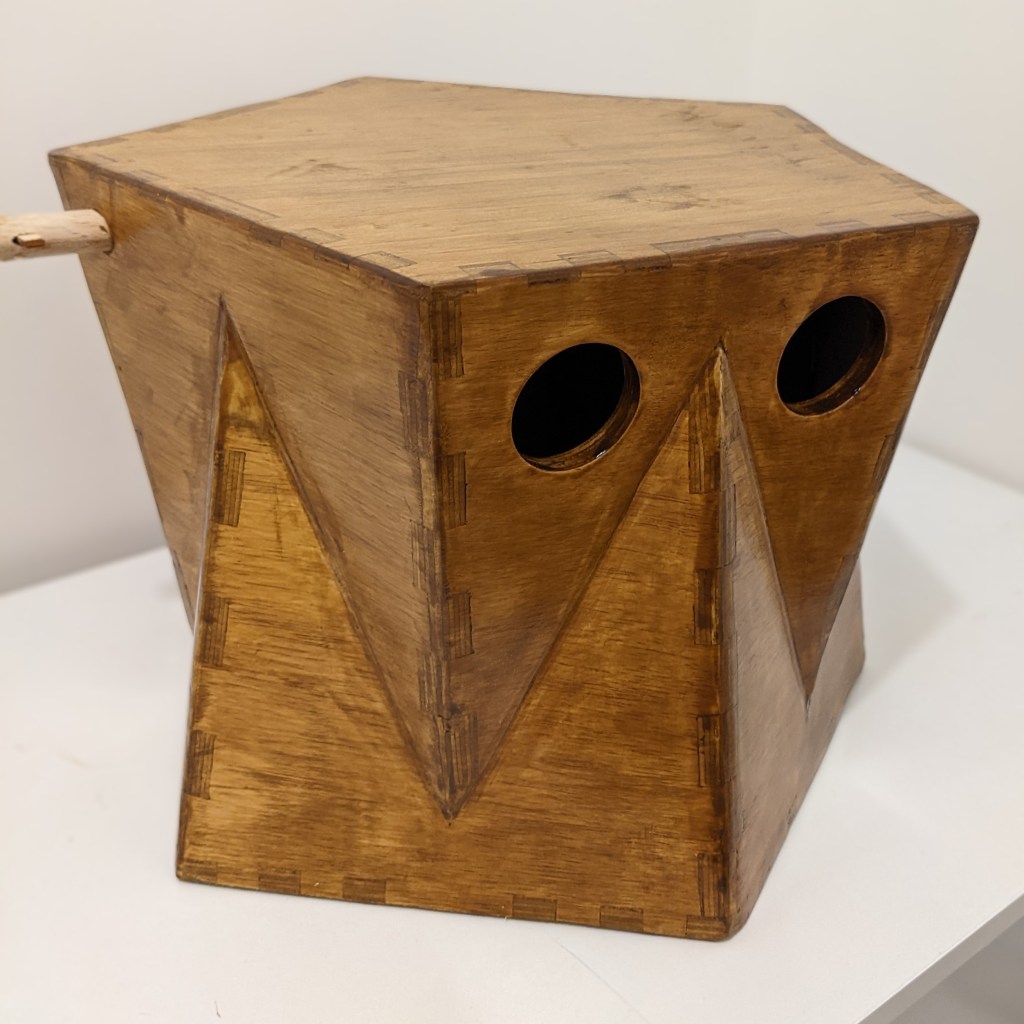
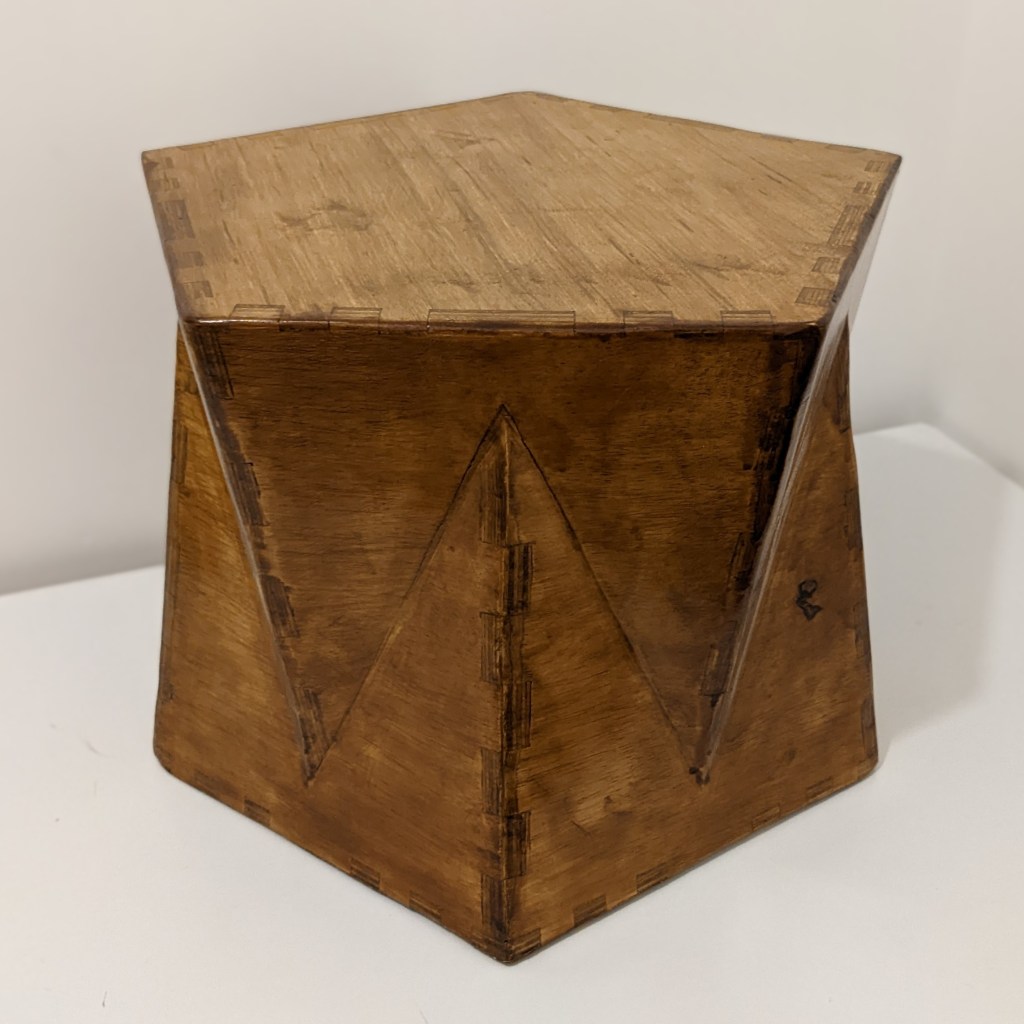
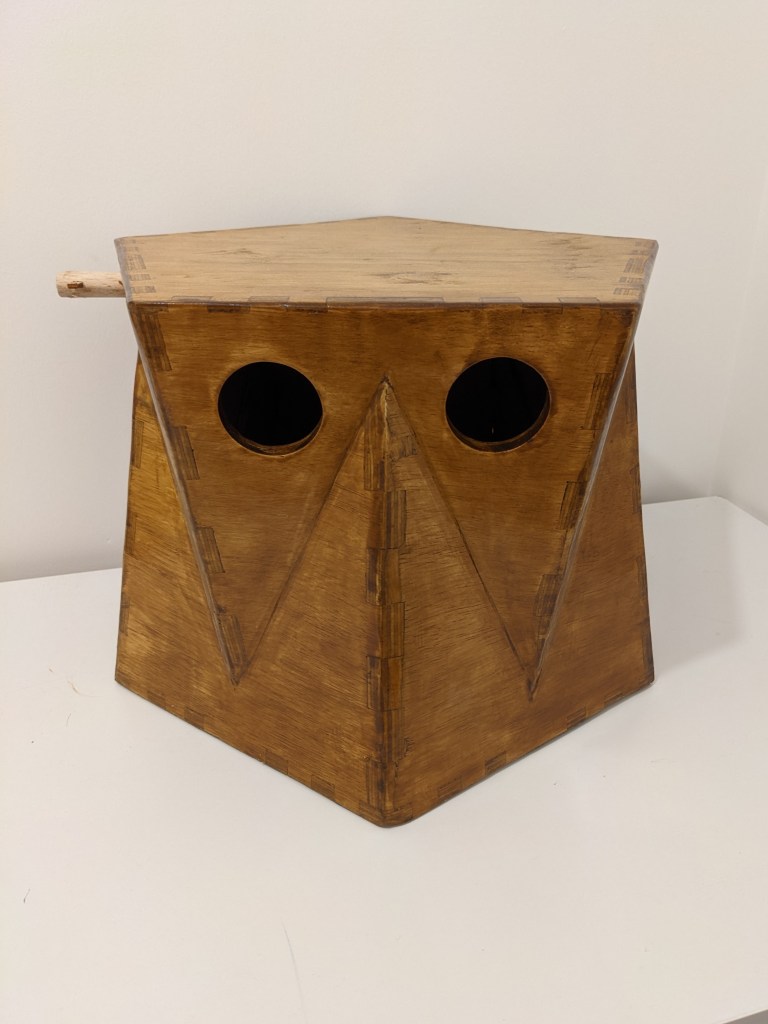
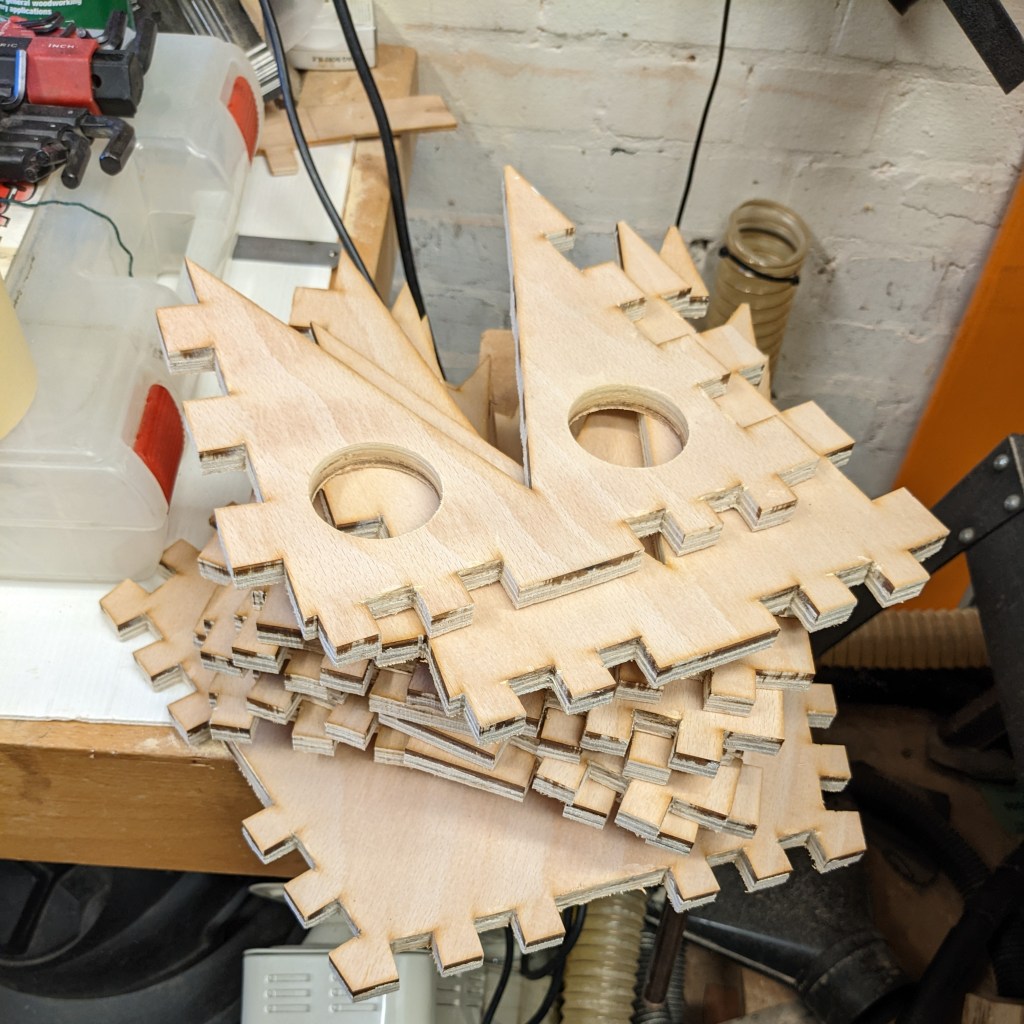
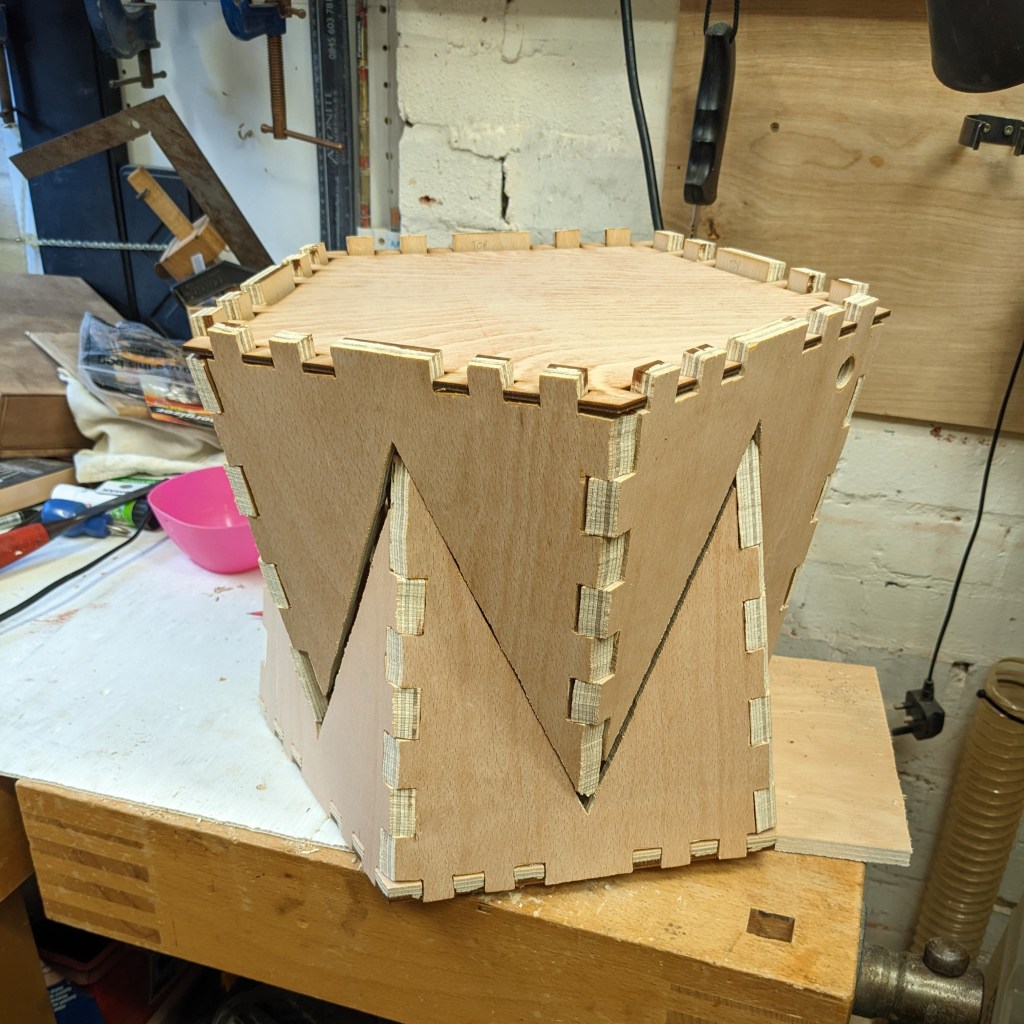
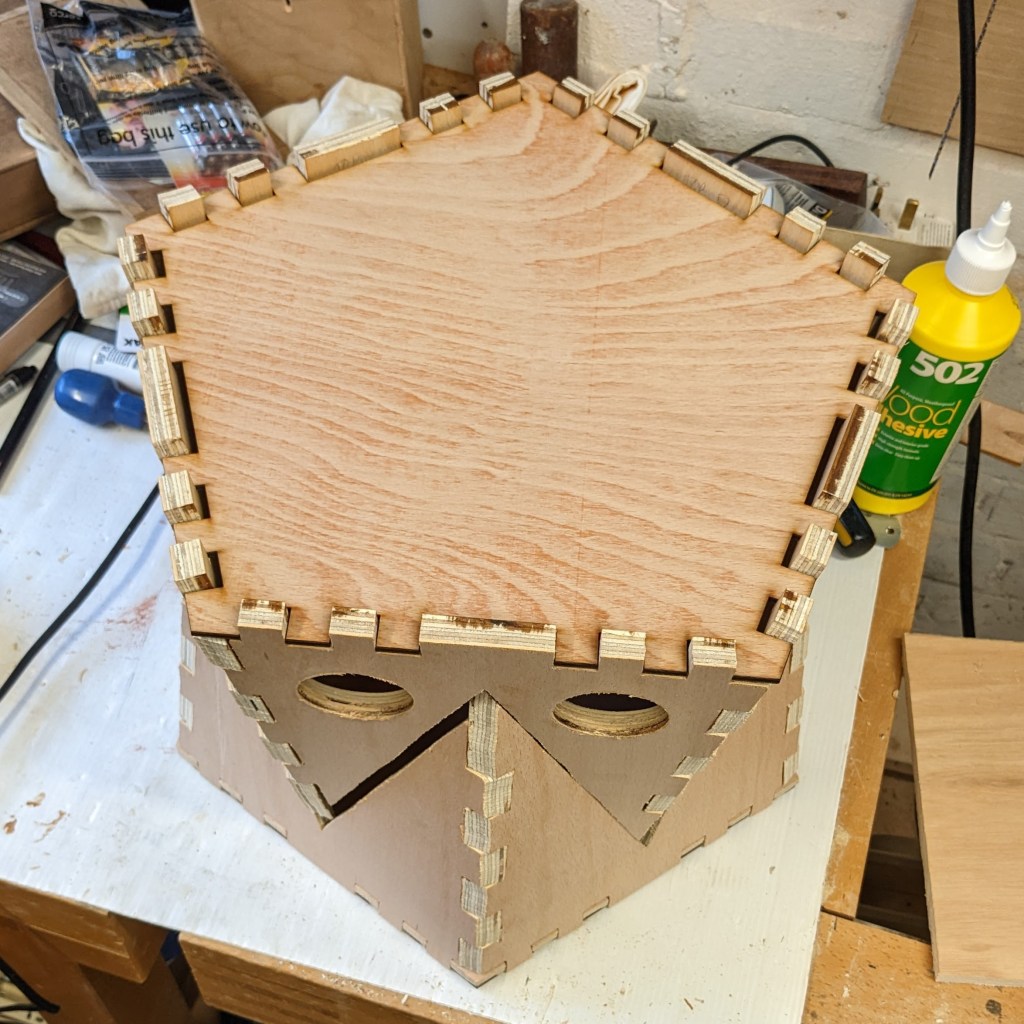
The Dodecahedrum was a commission from Matt Parker of Stand Up Maths, based on a regular dodecahedron which was discovered a few years ago. It’s a ‘regular’ dodecahedron, meaning all the edges are the same length but the faces are different: only the top and bottom are regular pentagons, the other faces link together to form a shape resembling a drum.
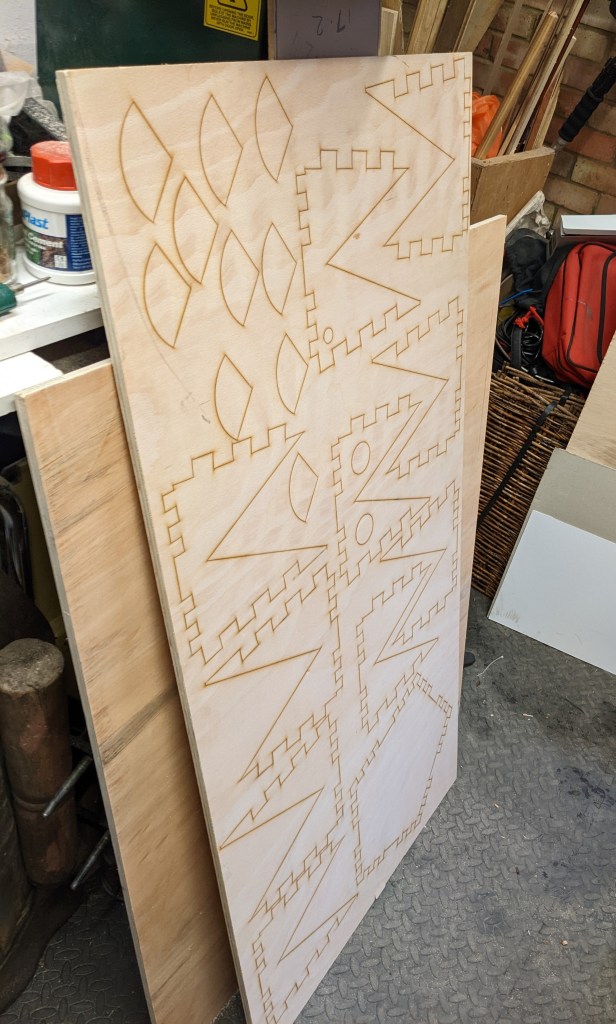
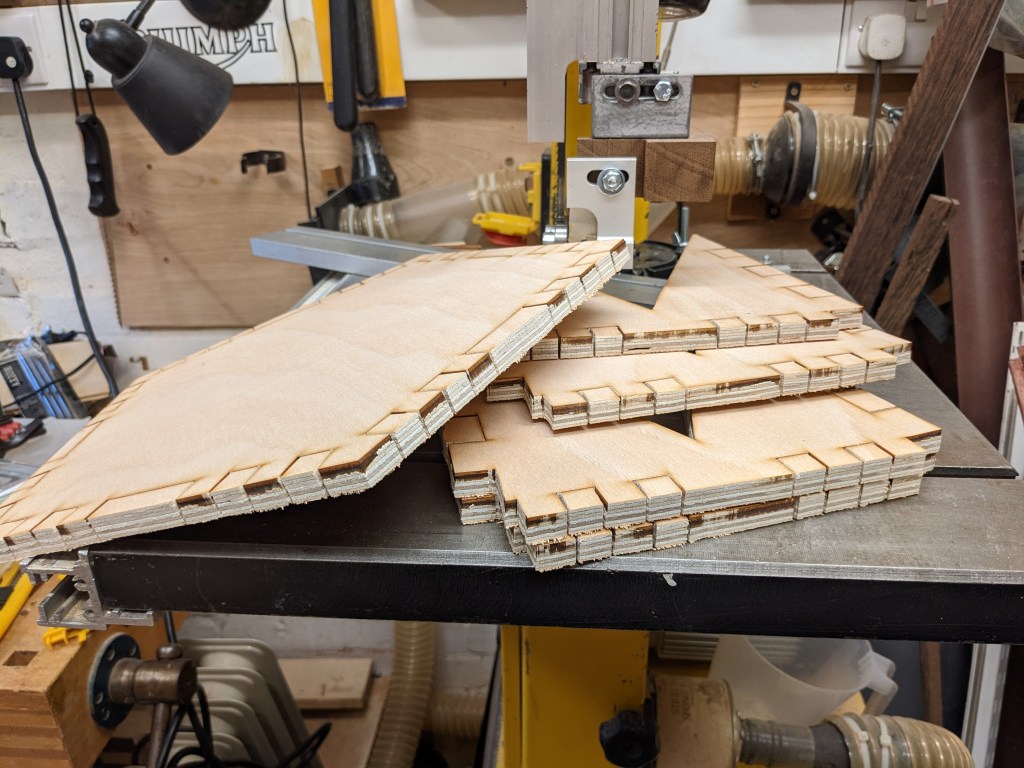
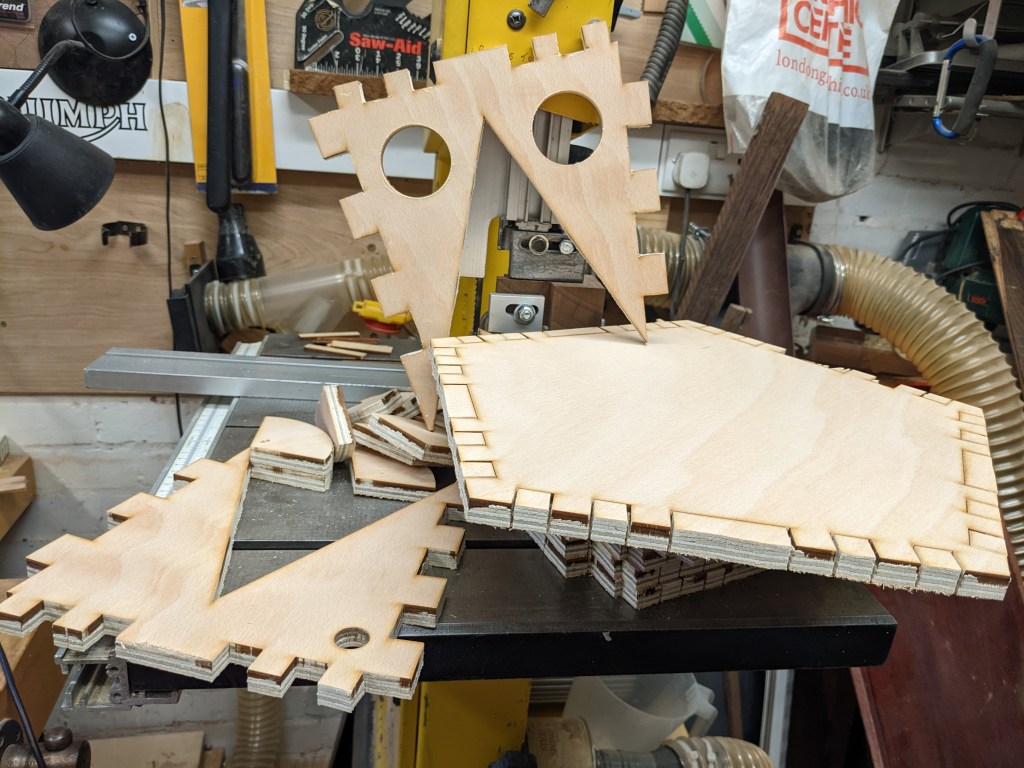
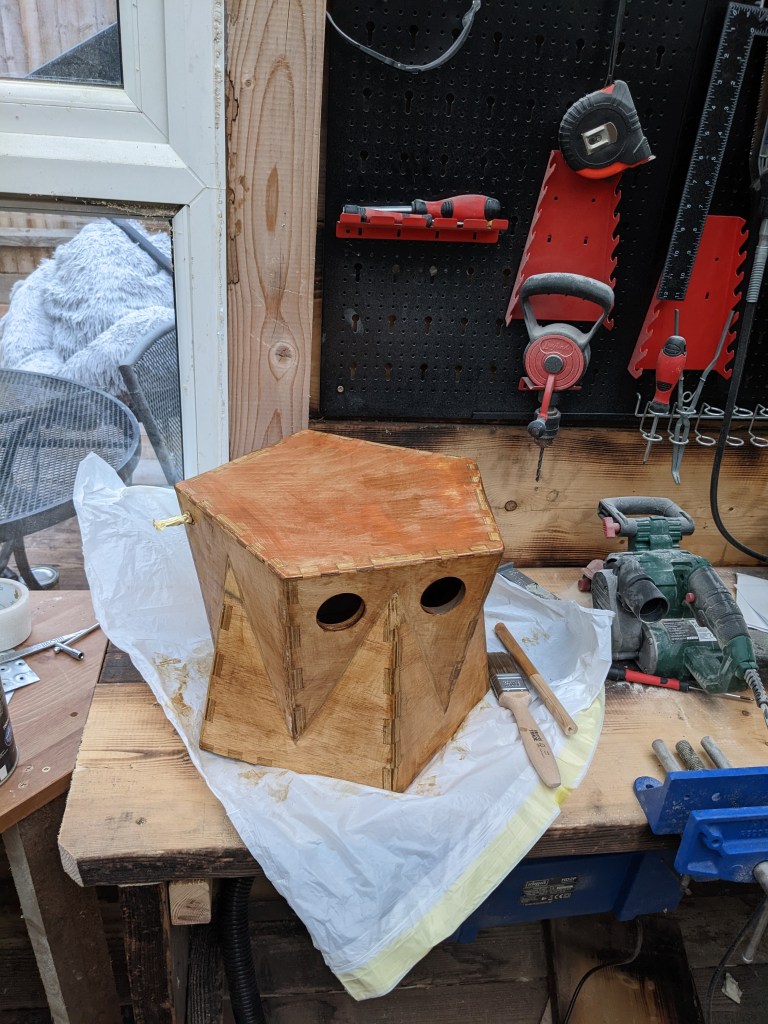
This was quite complicated piece to build; initially I had a lot of trouble figuring out how to connect the diagonals, before realising that they would probably glue together plane to plane with some strong filler. The second issue I ran up against was the laser cutter — the gods of laser cutting were not with me on the day, and after about an hour of failed configurations I gave up, engraved the wood instead and then cut it at home on the bandsaw, which as you might be able to guess took a long time.
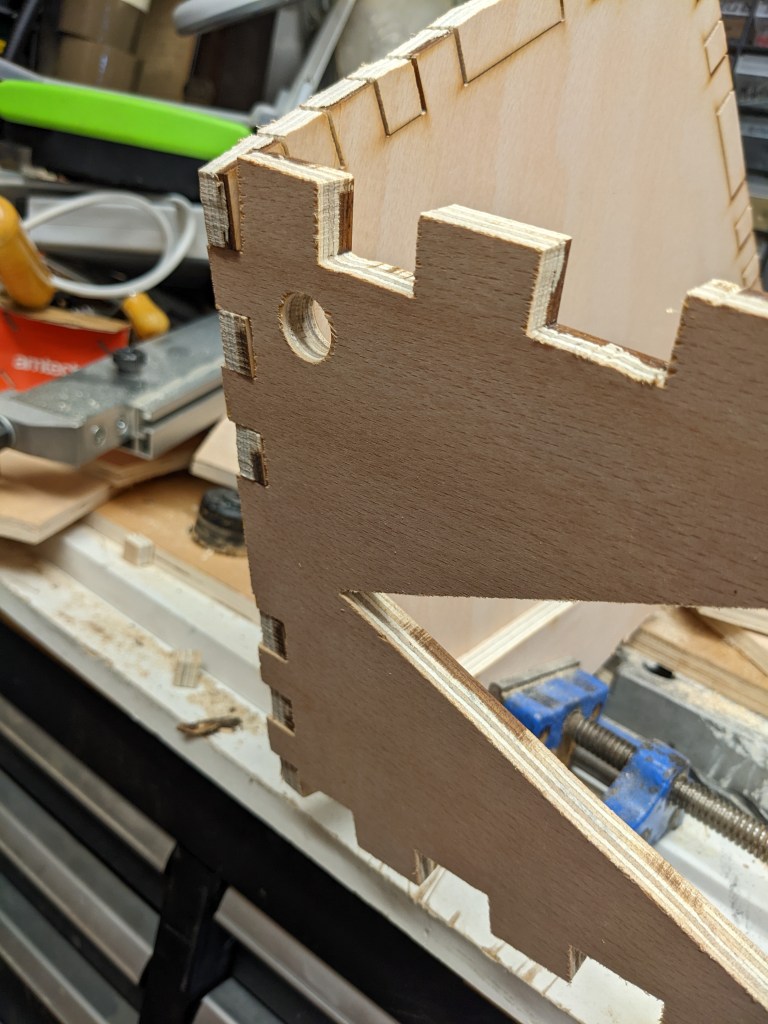
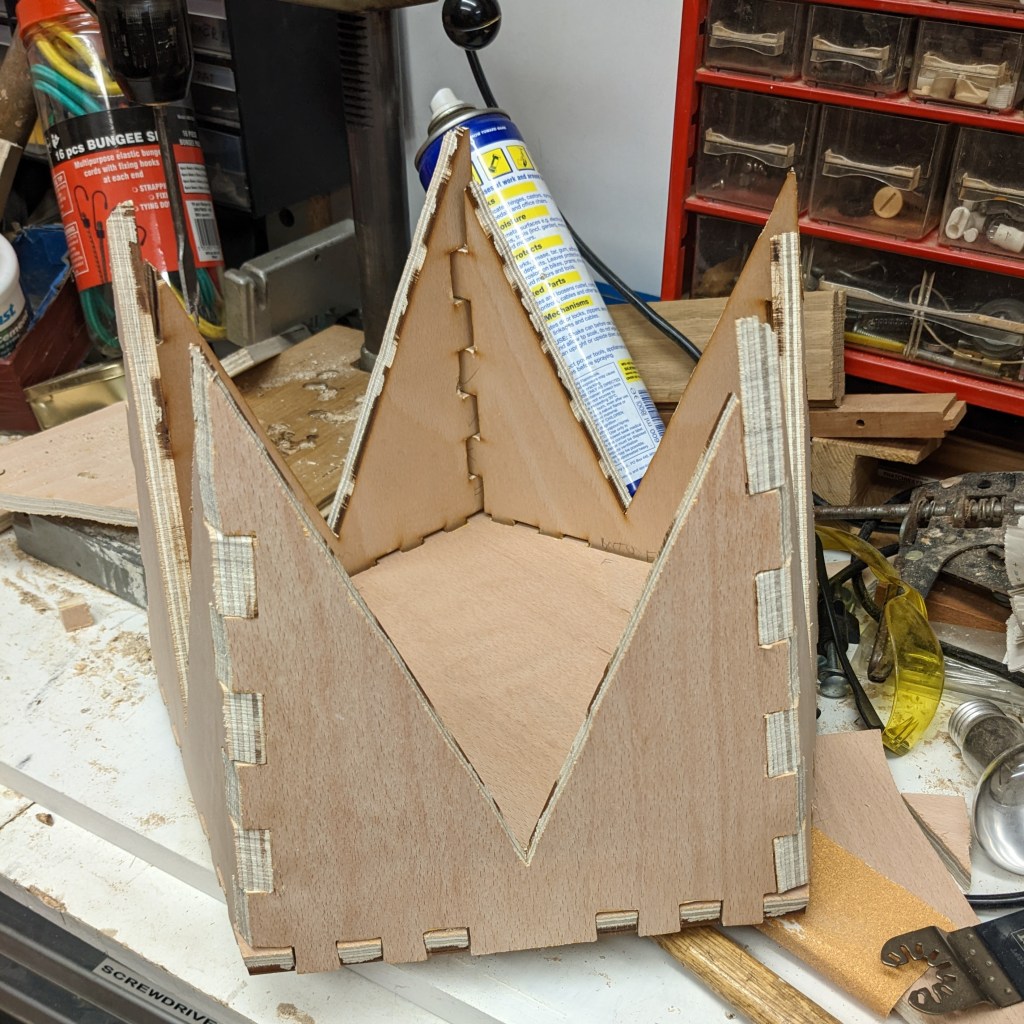

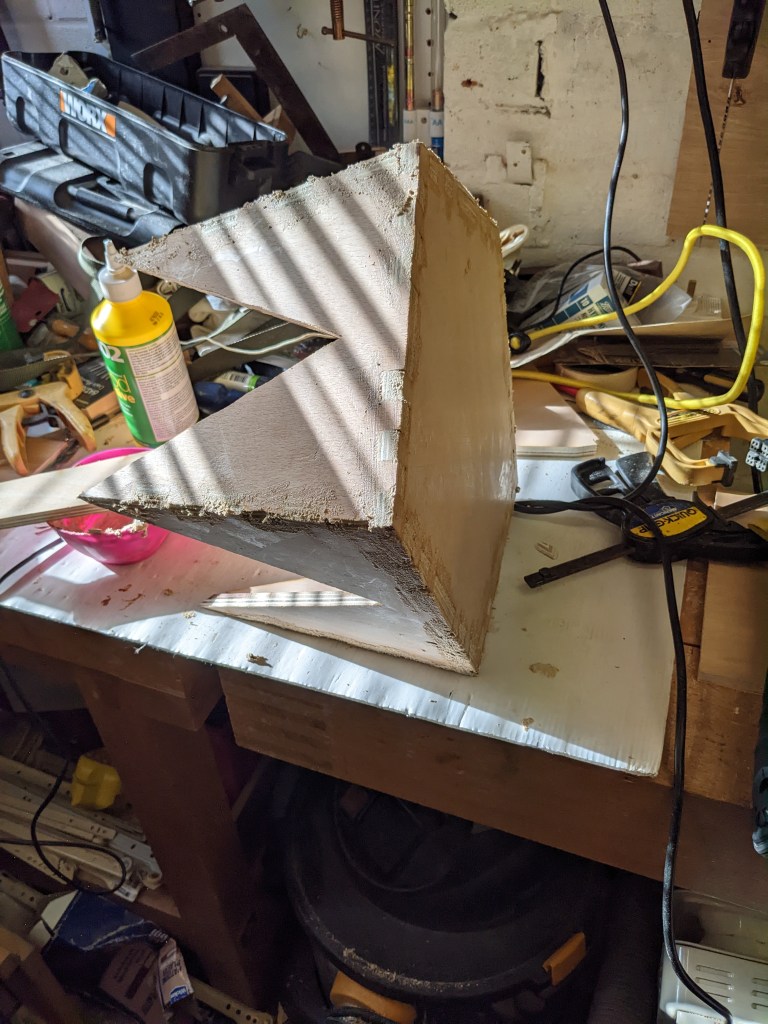
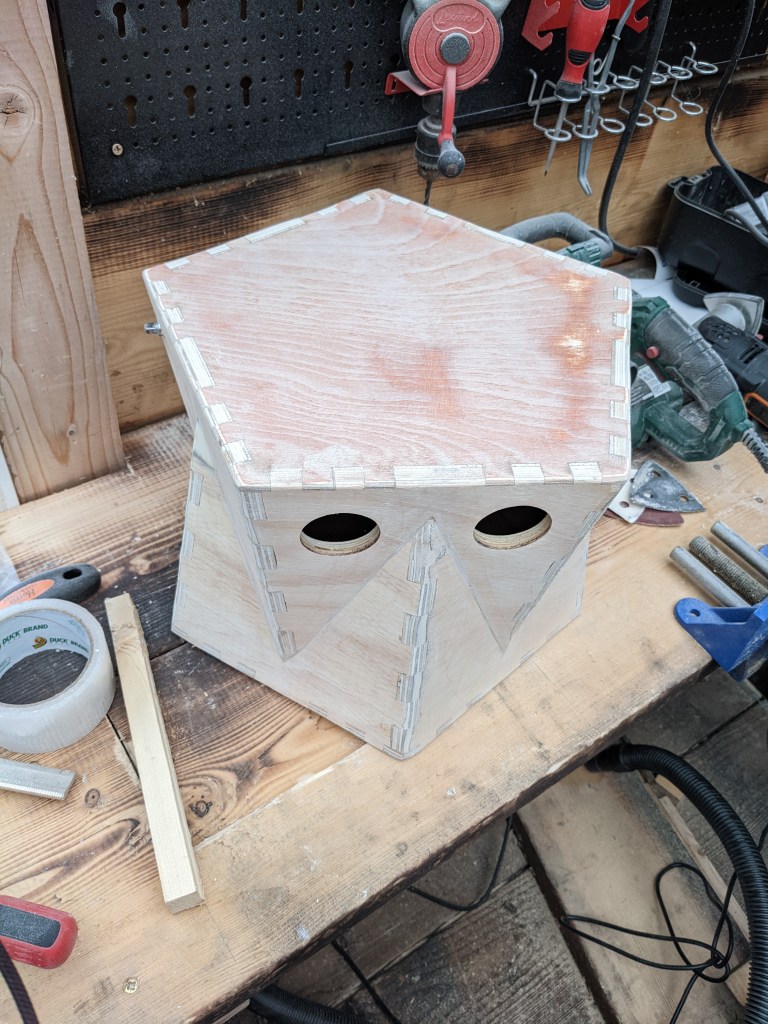
As with any non-cubic 3D shape build from flat materials, there were gaps at the joins. These were built into the design, and filled with a combination of two materials; first, a mixture of sawdust and wood glue, for strength, and then a layer of wood filler to ensure a smooth finish.

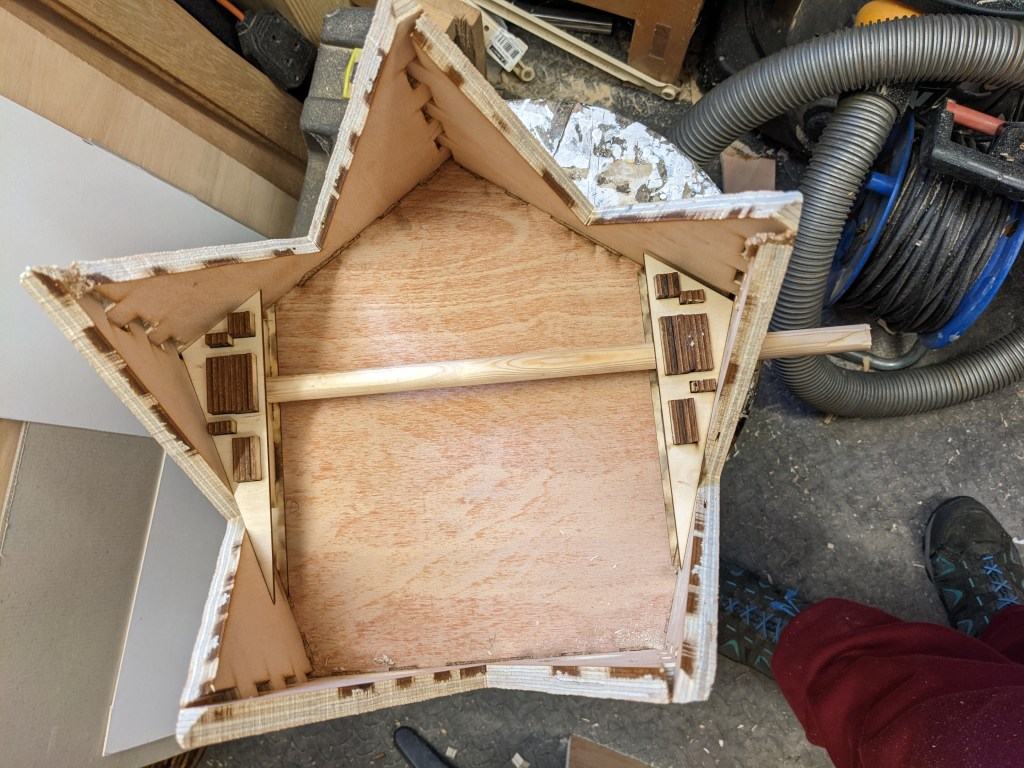
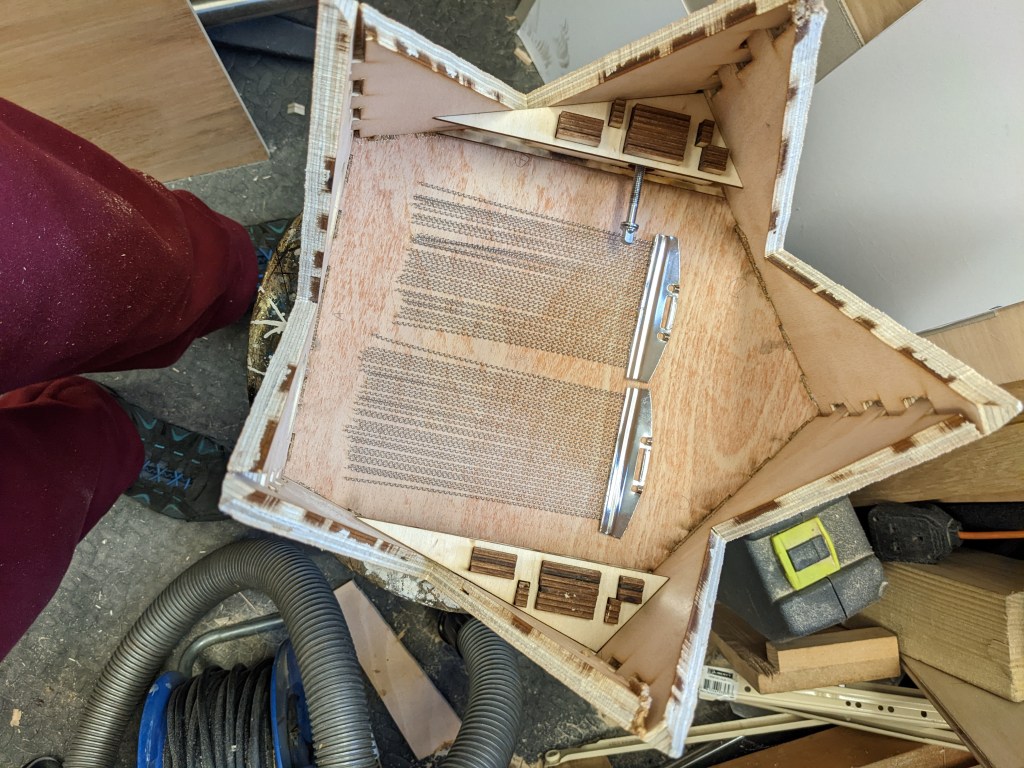
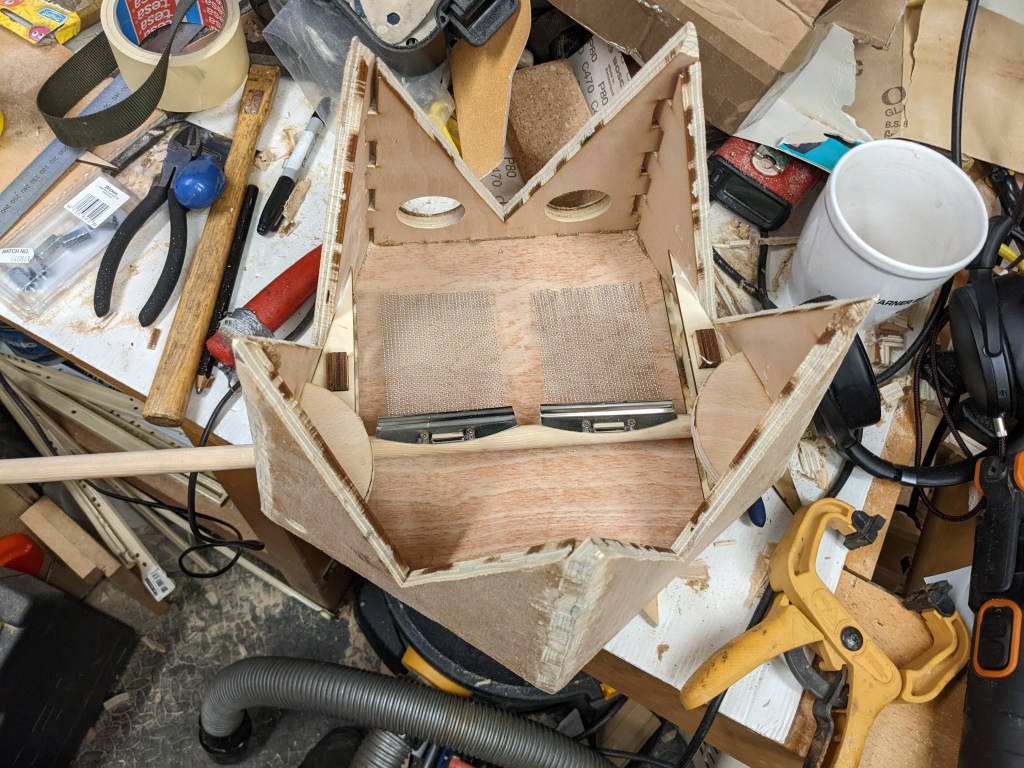
Next came the snare mechanism. This consisted of a standard snare drum wire set, cut in half, trimmed to size and screwed onto a rotating pole inside the drum to make it sound more like a classic snare drum. The pole can be turned to switch the snare effect on and off. Below is a quick test video I took to see how the snare sounds; I’m pretty happy with it!

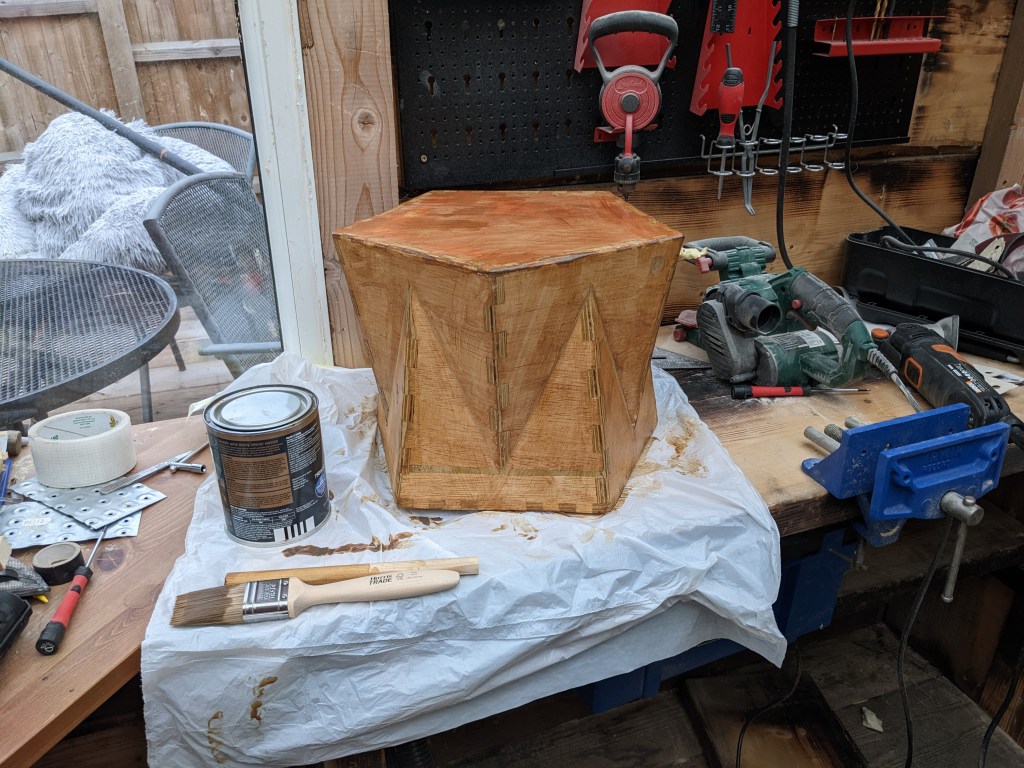
After securing the snare, it was on to the varnishing. The sharp-eyed viewer might notice a difference between the drum right now and the final; originally the drum was intended to be tuned using a drum peg, but the dowel rod had other ideas. Initially it was too easy to turn, meaning that the drum detuned after 2-3 strikes, and then the screw mechanism in the pole jammed during varnishing and basically became unusable, meaning I had to open up the bottom of the drum, cut the pole out and replace it with a new one. Luckily the new one was of a higher quality. I decided not to risk the drum screw with the new version and instead tune it using pliers.
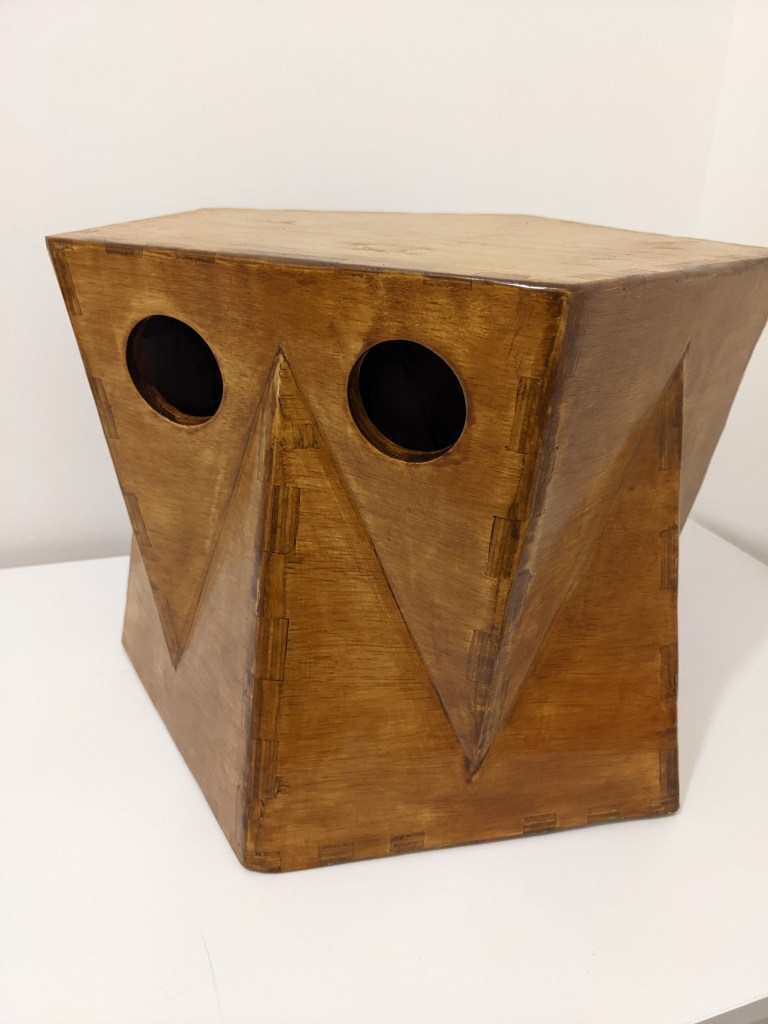
I also sanded the first layer of varnish almost entirely off. The brushstrokes showed up too clearly against the wood and I just didn’t like the way it looked, so I stripped it back using a handheld belt sander and started again. Then I reapplied the varnish (I think about five coats of it), sanding with very fine sandpaper (180, 240 and finally 800) between coats to achieve a smooth finish.


And so, finally, onto the beauty shots.